Cordova: Integrating Google Map
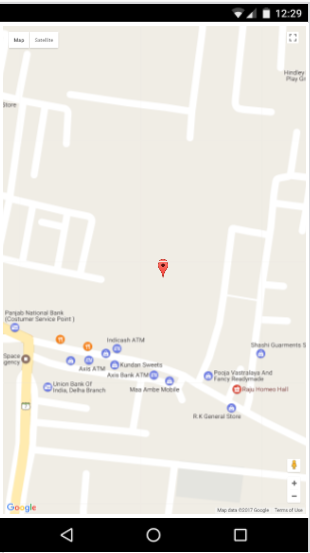
Now we will create another quick project, in which we will integrate Google Map into our Android App.
- Create a new project. You know how to do this, we just did this in the previous lesson.
- Now go to Google's Developer Console → https://developers.google.com/maps
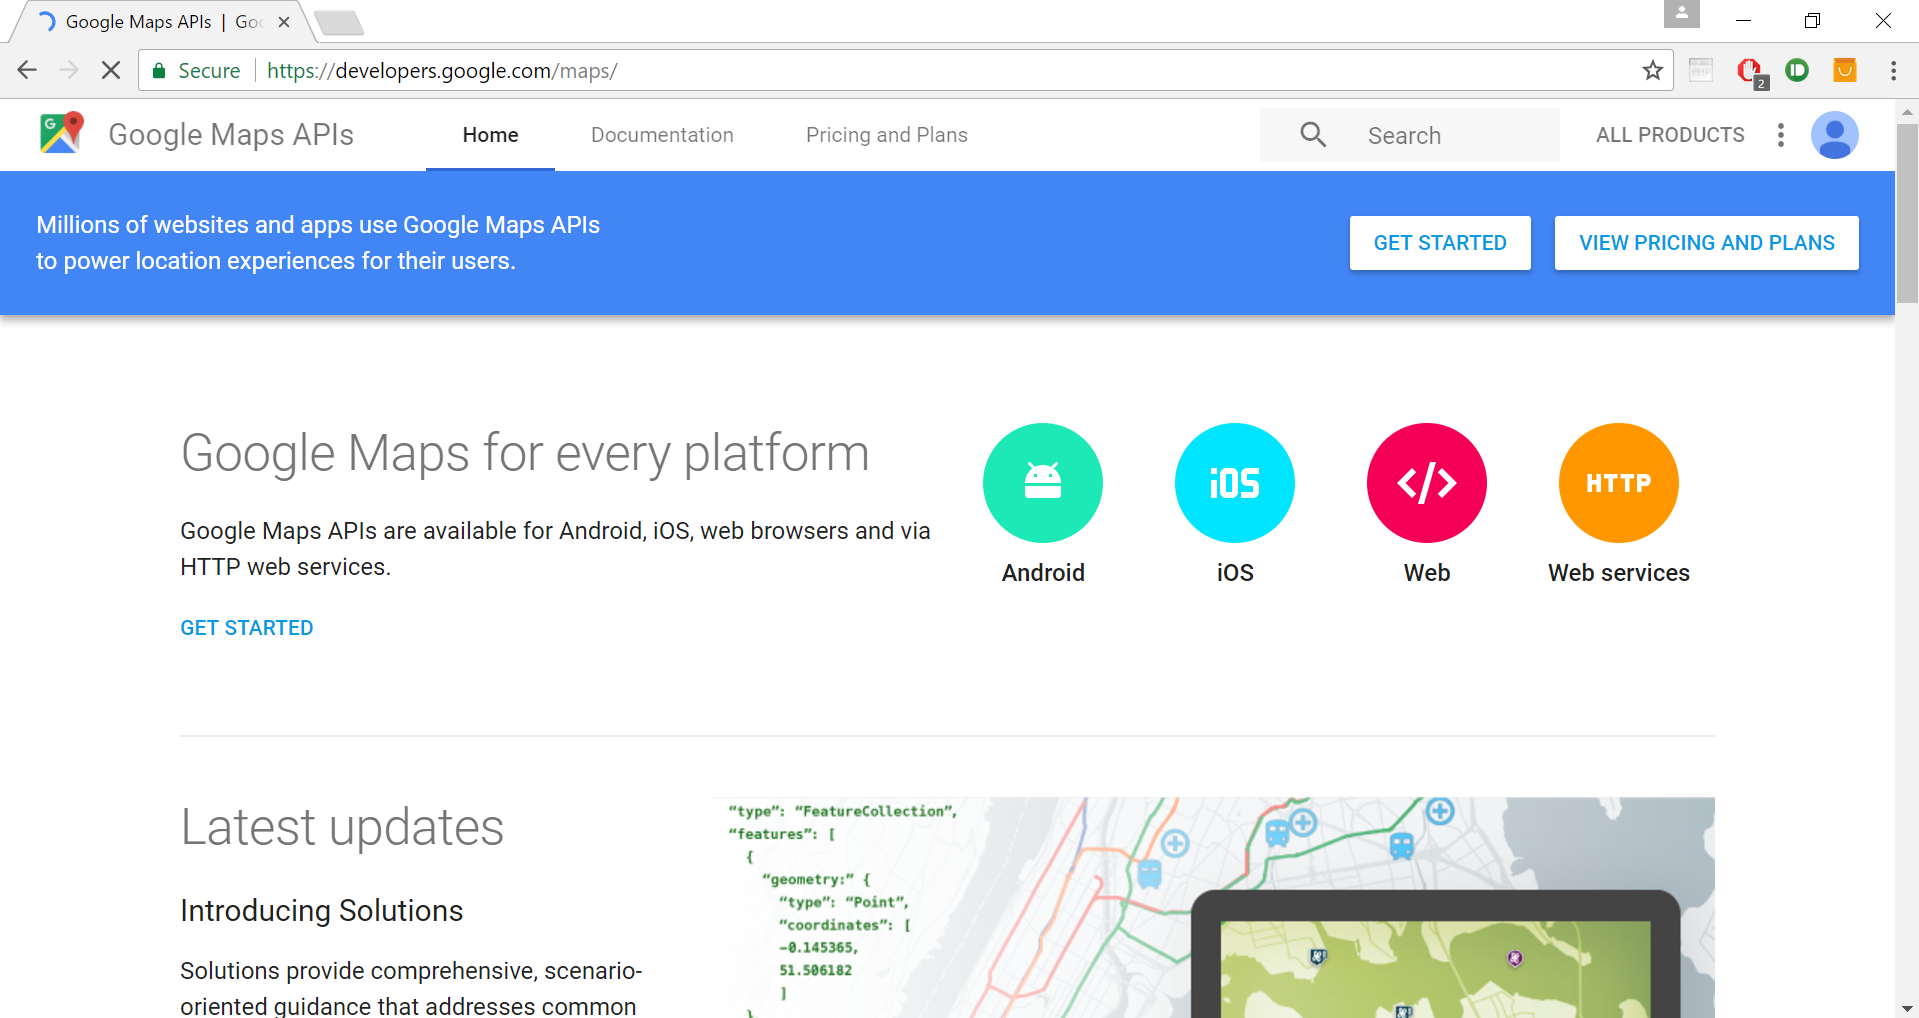
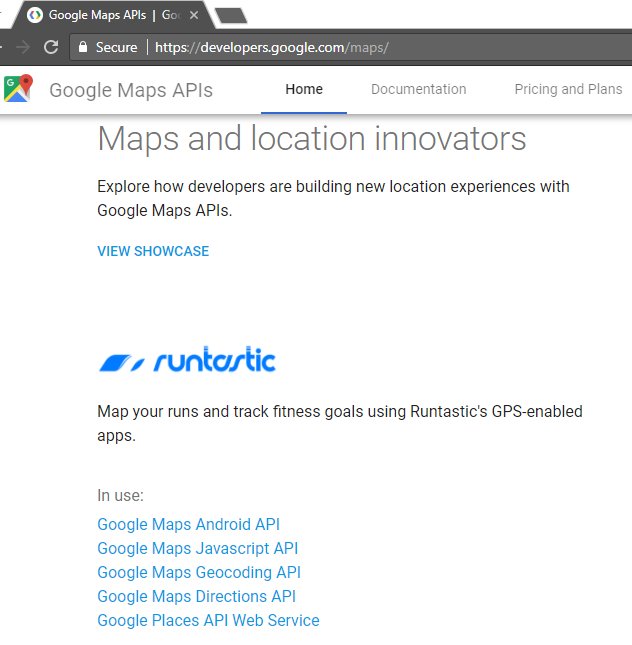
Scroll down and click on Google Map Javascript API
Click on GET A KEY.
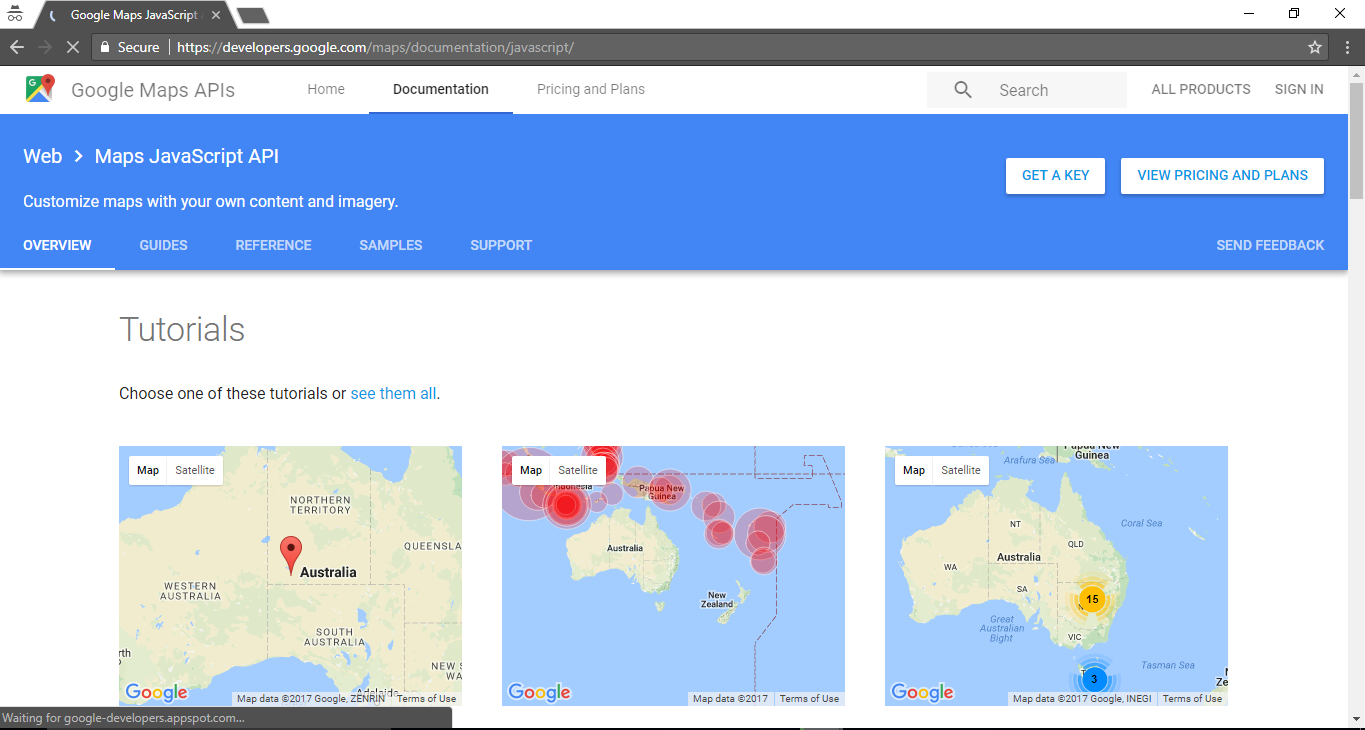
Now click on Create Project and then name your project and enable API.
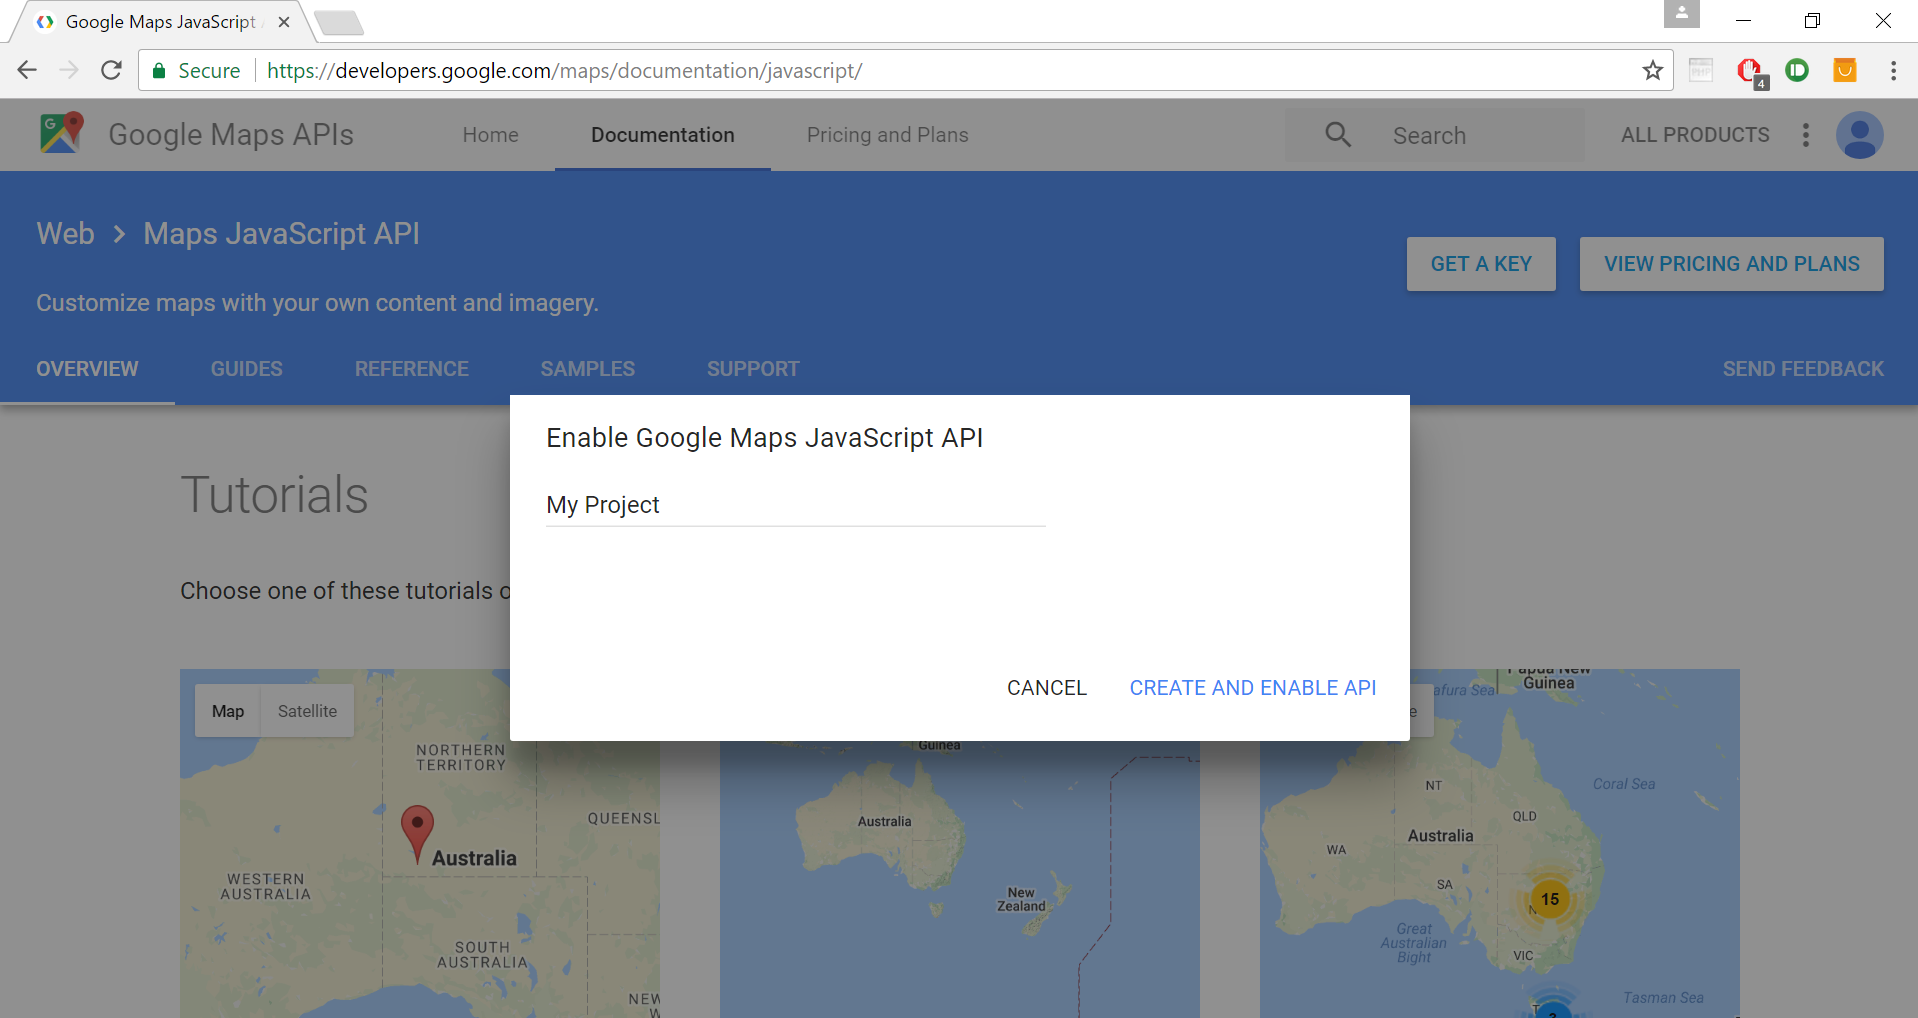
- Copy that key to the clip board.
- Now it's time for writing HTML, JS and CSS code.
We have integrated the JS, CSS and the HTML code in a single file for this one. If you want, you can break down this code into 3 separate files.
index.html
<html> <head> <style type="text/css"> #map_area { position:fixed; height:100%; width:100%; top:0; left:0; } </style> <script type="text/javascript"> function start() { var latlong = {lat: 24.801522, lng:84.995989}; var map = new google.maps.Map(document.getElementById('map_area'), { zoom: 17, center: latlong }); var marker = new google.maps.Marker({ position: latlong, map: map }); } </script> </head> <body> <div id="map_area"></div> <script src="https://maps.googleapis.com/maps/api/js?key=API_KEY&callback=start"><script> </body> </html> - Place the above code in your
index.htmlfile, and put the file inside the www folder. - Pass the command to generate the apk file.
- Transfer this apk to your phone and test it.